Ghostty + Tmux + Neovim
by Aaron • 11/23/2024, 8:51:42 AM

純紀錄
Terminal -Ghostty
相信大多數的 Mac 使用者基本上使用的 Terminal 不外乎就是 iTerm2 , Kitty , wezterm , 或是 warp
- iTerm2: 提供友善的 config ui, 新手可以很容易的去 config 自己的 terminal, 並且也提供需多實用的技能, 例如分割視窗, 搜尋, autocomplete 等等
- Wezterm: 使用 Rust 開發, 速度非常快, 使用 lua config ( 相信使用 vim 的人都很熟悉 ), 跨平台, 並且可客製化程度高
- Warp: 使用 Rust 開發, 跟 AI 整合, 在指令太多忘記時可以直接在 Warp 使用 AI 請他給你指令, 身邊的工程師大多使用 Warp
而我的選擇則是使用 Ghostty, 使用 Zig 開發, 快速, GPU 加速渲染, Kitty 圖形協議, 且標榜 zero config, 感覺很多用 Kitty 的都轉來用 Ghostty 了, 當然還有其他功能但就看 Doc 比較清楚
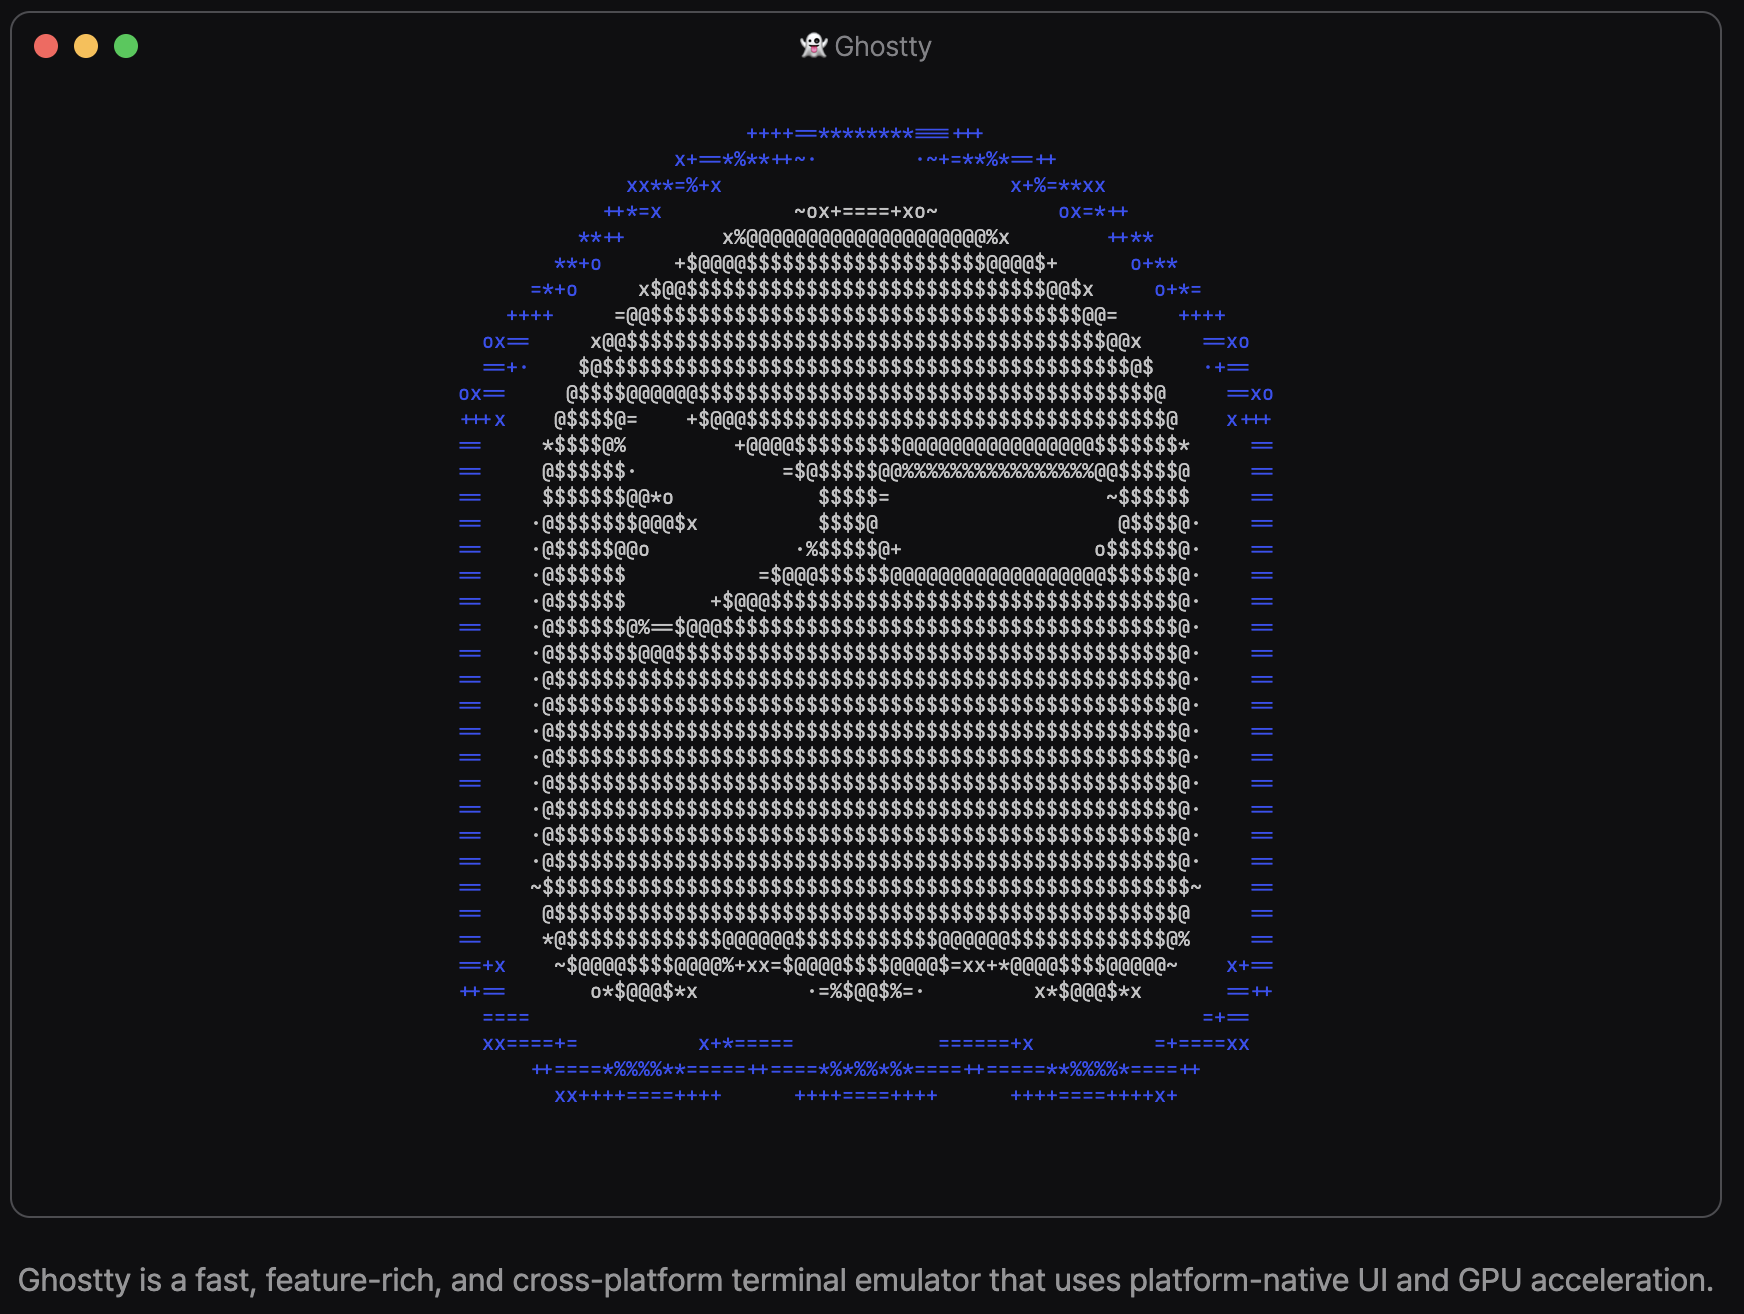 from ghostty website
Configurations
mkdir ~/.config/ghostty
touch ~/.config/ghostty/config
基本上 config default 的就已經夠用了除非有一些個人習慣的 key-binding, 就附上我自己習慣的讓大家使用看看
# ~/.config/ghostty/config

font-size = 20
font-style=bold
theme = Dracula
shell-integration-features = no-cursor,sudo,no-title
cursor-style = block
adjust-cell-height = 35%
# background-opacity = 0.96

mouse-hide-while-typing = true
mouse-scroll-multiplier = 2

window-padding-balance = true
window-save-state = always
# macos-titlebar-style=transparent
# window-colorspace = "display-p3"
# background = 1C2021
# foreground = d4be98

# keybindings
keybind = cmd+s>n=new_window

# tabs
keybind = cmd+]=next_tab
keybind = cmd+[=previous_tab
keybind = cmd+s>comma=move_tab:-1
keybind = cmd+s>period=move_tab:1

# split
keybind = cmd+s>v=new_split:right
keybind = cmd+s>s=new_split:down

keybind = cmd+s>j=goto_split:bottom
keybind = cmd+s>k=goto_split:top
keybind = cmd+s>h=goto_split:left
keybind = cmd+s>l=goto_split:right

keybind = cmd+s>z=toggle_split_zoom

keybind = cmd+s>e=equalize_splits

# other
copy-on-select = clipboard


shell-integration = fish
Tmux
最一開始是使用 screen, 但之後被推坑轉到使用 tmux, 老實說以我會使用到的功能, screen 跟 tmux 基本上都能滿足。 個人沒有太多偏見
Configurations
touch ~/.config/.tmux.conf
set -g default-terminal "xterm-256color"
# set -ga terminal-overrides ",_256col_:Tc"
set -ga terminal-overrides ",xterm-256color:Tc"

# action key

unbind C-b
set-option -g prefix C-t
set-option -g repeat-time 0

#### Key bindings

set-window-option -g mode-keys vi

# bind t send-key C-t

# Reload settings

bind r source-file ~/.tmux.conf \; display "Reloaded!"

# Open current directory

bind o run-shell "open #{pane_current_path}"
bind -r e kill-pane -a

# vim-like pane switching

bind -r k select-pane -U
bind -r j select-pane -D
bind -r h select-pane -L
bind -r l select-pane -R

# Moving window

bind-key -n C-S-Left swap-window -t -1 \; previous-window
bind-key -n C-S-Right swap-window -t +1 \; next-window

# Resizing pane

bind -r C-k resize-pane -U 5
bin -r C-j resize-pane -D 5
bind -r C-h resize-pane -L 5
bind -r C-l resize-pane -R 5

#### basic settings

set-option -g status-justify "left"
# set-option utf8-default on
# set-option -g mouse-select-pane
set-window-option -g mode-keys vi
# set-window-option -g utf8 on

# look'n feel

set-option -g status-fg cyan
set-option -g status-bg black
set -g pane-active-border-style fg=colour166,bg=default
set -g window-style fg=colour10,bg=default
set -g window-active-style fg=colour12,bg=default
set-option -g history-limit 64096

set -sg escape-time 10

#### COLOUR

# default statusbar colors

set-option -g status-style bg=colour235,fg=colour136,default

# default window title colors

set-window-option -g window-status-style fg=colour244,bg=colour234,dim

# active window title colors

set-window-option -g window-status-current-style fg=colour166,bg=default,bright

# pane border

set-option -g pane-border-style fg=colour235 #base02
set-option -g pane-active-border-style fg=colour136,bg=colour235

# message text

set-option -g message-style bg=colour235,fg=colour166

# pane number display

set-option -g display-panes-active-colour colour33 #blue
set-option -g display-panes-colour colour166 #orange

# clock

set-window-option -g clock-mode-colour colour64 #green

# allow the title bar to adapt to whatever host you connect to

set -g set-titles on
set -g set-titles-string "#T"

# import

if-shell "uname -s | grep -q Darwin" "source ~/.tmux.conf.osx"

# Powerline

source ~/.tmux.powerline.confd
Neovim
IDE 的選擇感覺是一個大戰場, 身邊的工程師選擇的 IDE 都不太一樣, 甚至是使用不同語言會使用不同的 IDE, 而我有使用過的包括以下
-
VS Code: 身邊大多數的人都是 VS Code 的擁護者, 畢盡是真的好用,想得到的功能基本上都有 plugin 可以裝, 微軟爸爸出的 AI 新功能也最先會出現在 VS Code, 甚至有免費的 copilot 可以使用。 也有許多 Fork 出來的 IDE 但感覺之後都會變成 Plugin。
-
Zed: 一個 rust 寫的整合 AI 功能的 IDE, 並且可以移植 VS Code 的 config (還蠻方便的), 並且使用 AI 的方式是我最喜歡的, 不像 copilot 一樣在編輯的途中就會一直出現建議的程式碼, Zed 更像是與 AI 一起合作一樣, 在編寫的時候並不會打斷思緒, 偏向是有問題時可以與他討論。 當然也有提供許多其他的功能
-
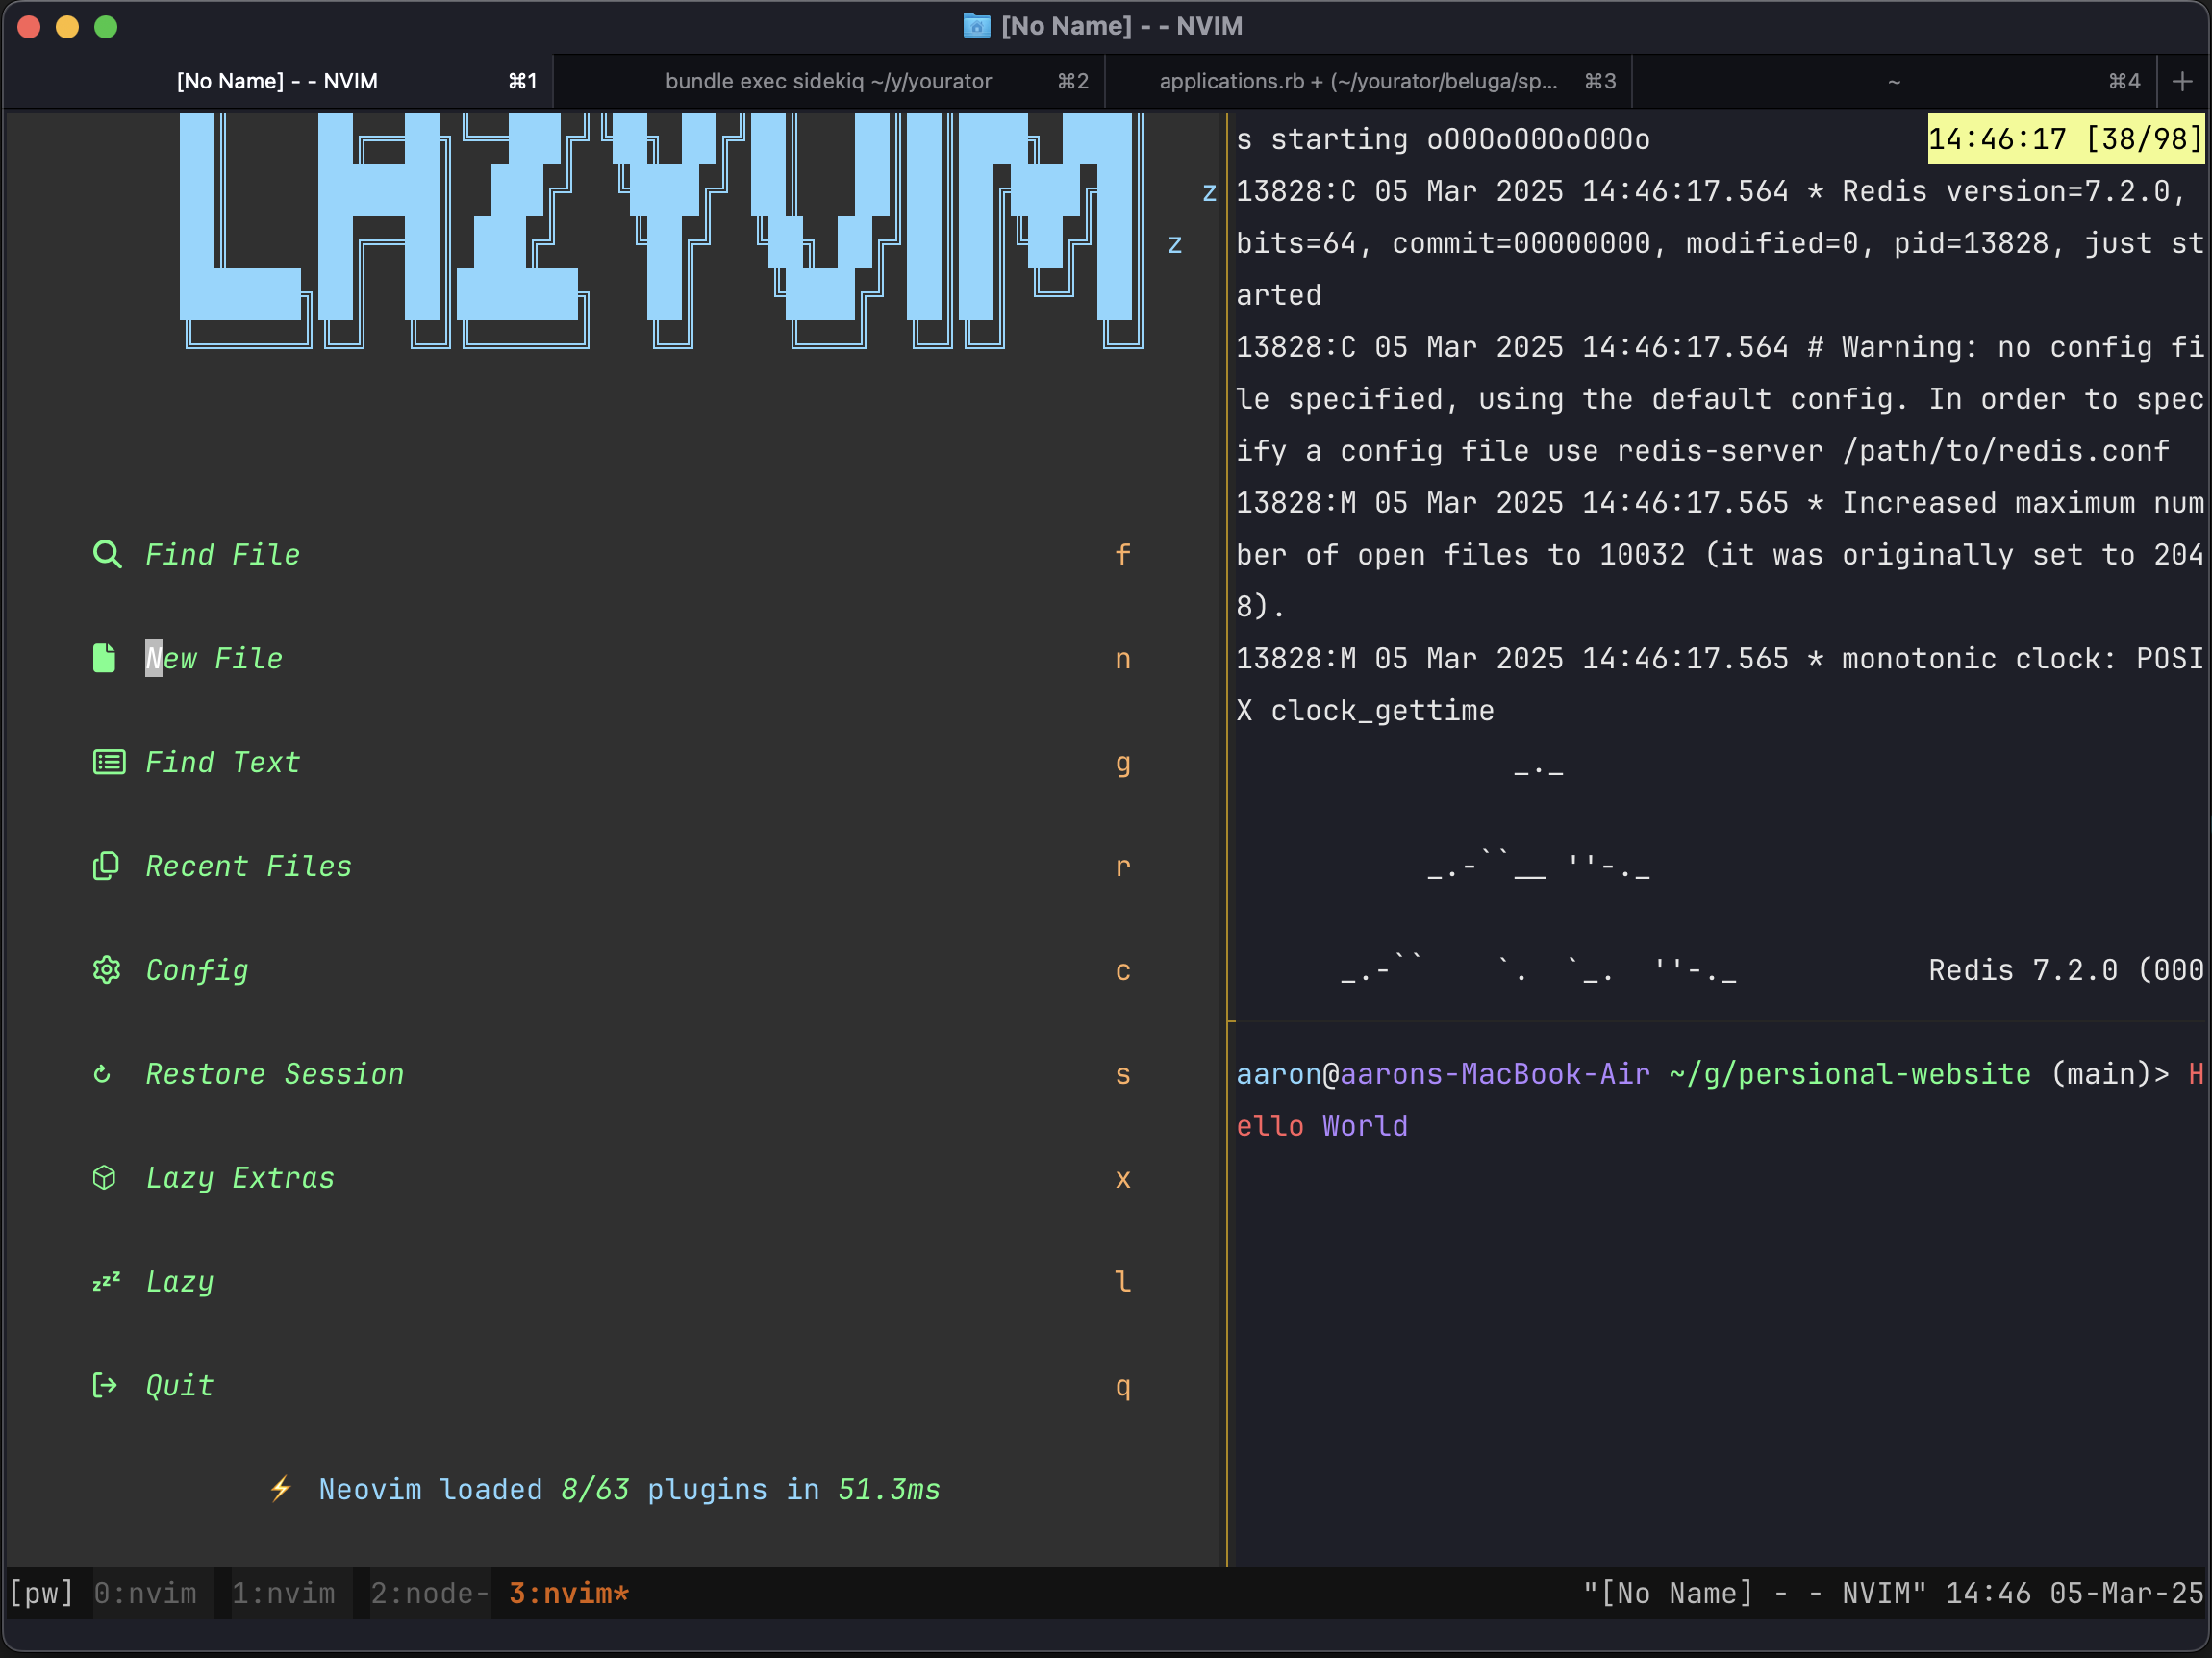
Neovim: 需要學習 vim motion, 花大量時間做 configuration, 前期的學習曲線非常高, 但是當你熟悉之後, 你會發現你的 coding speed 會提升非常多, 並且也有許多 plugin 可以使用, 也有許多人分享他們的 config, 甚至可以使用 Lazyvim, 一個讓你有可以開箱即用的 IDE
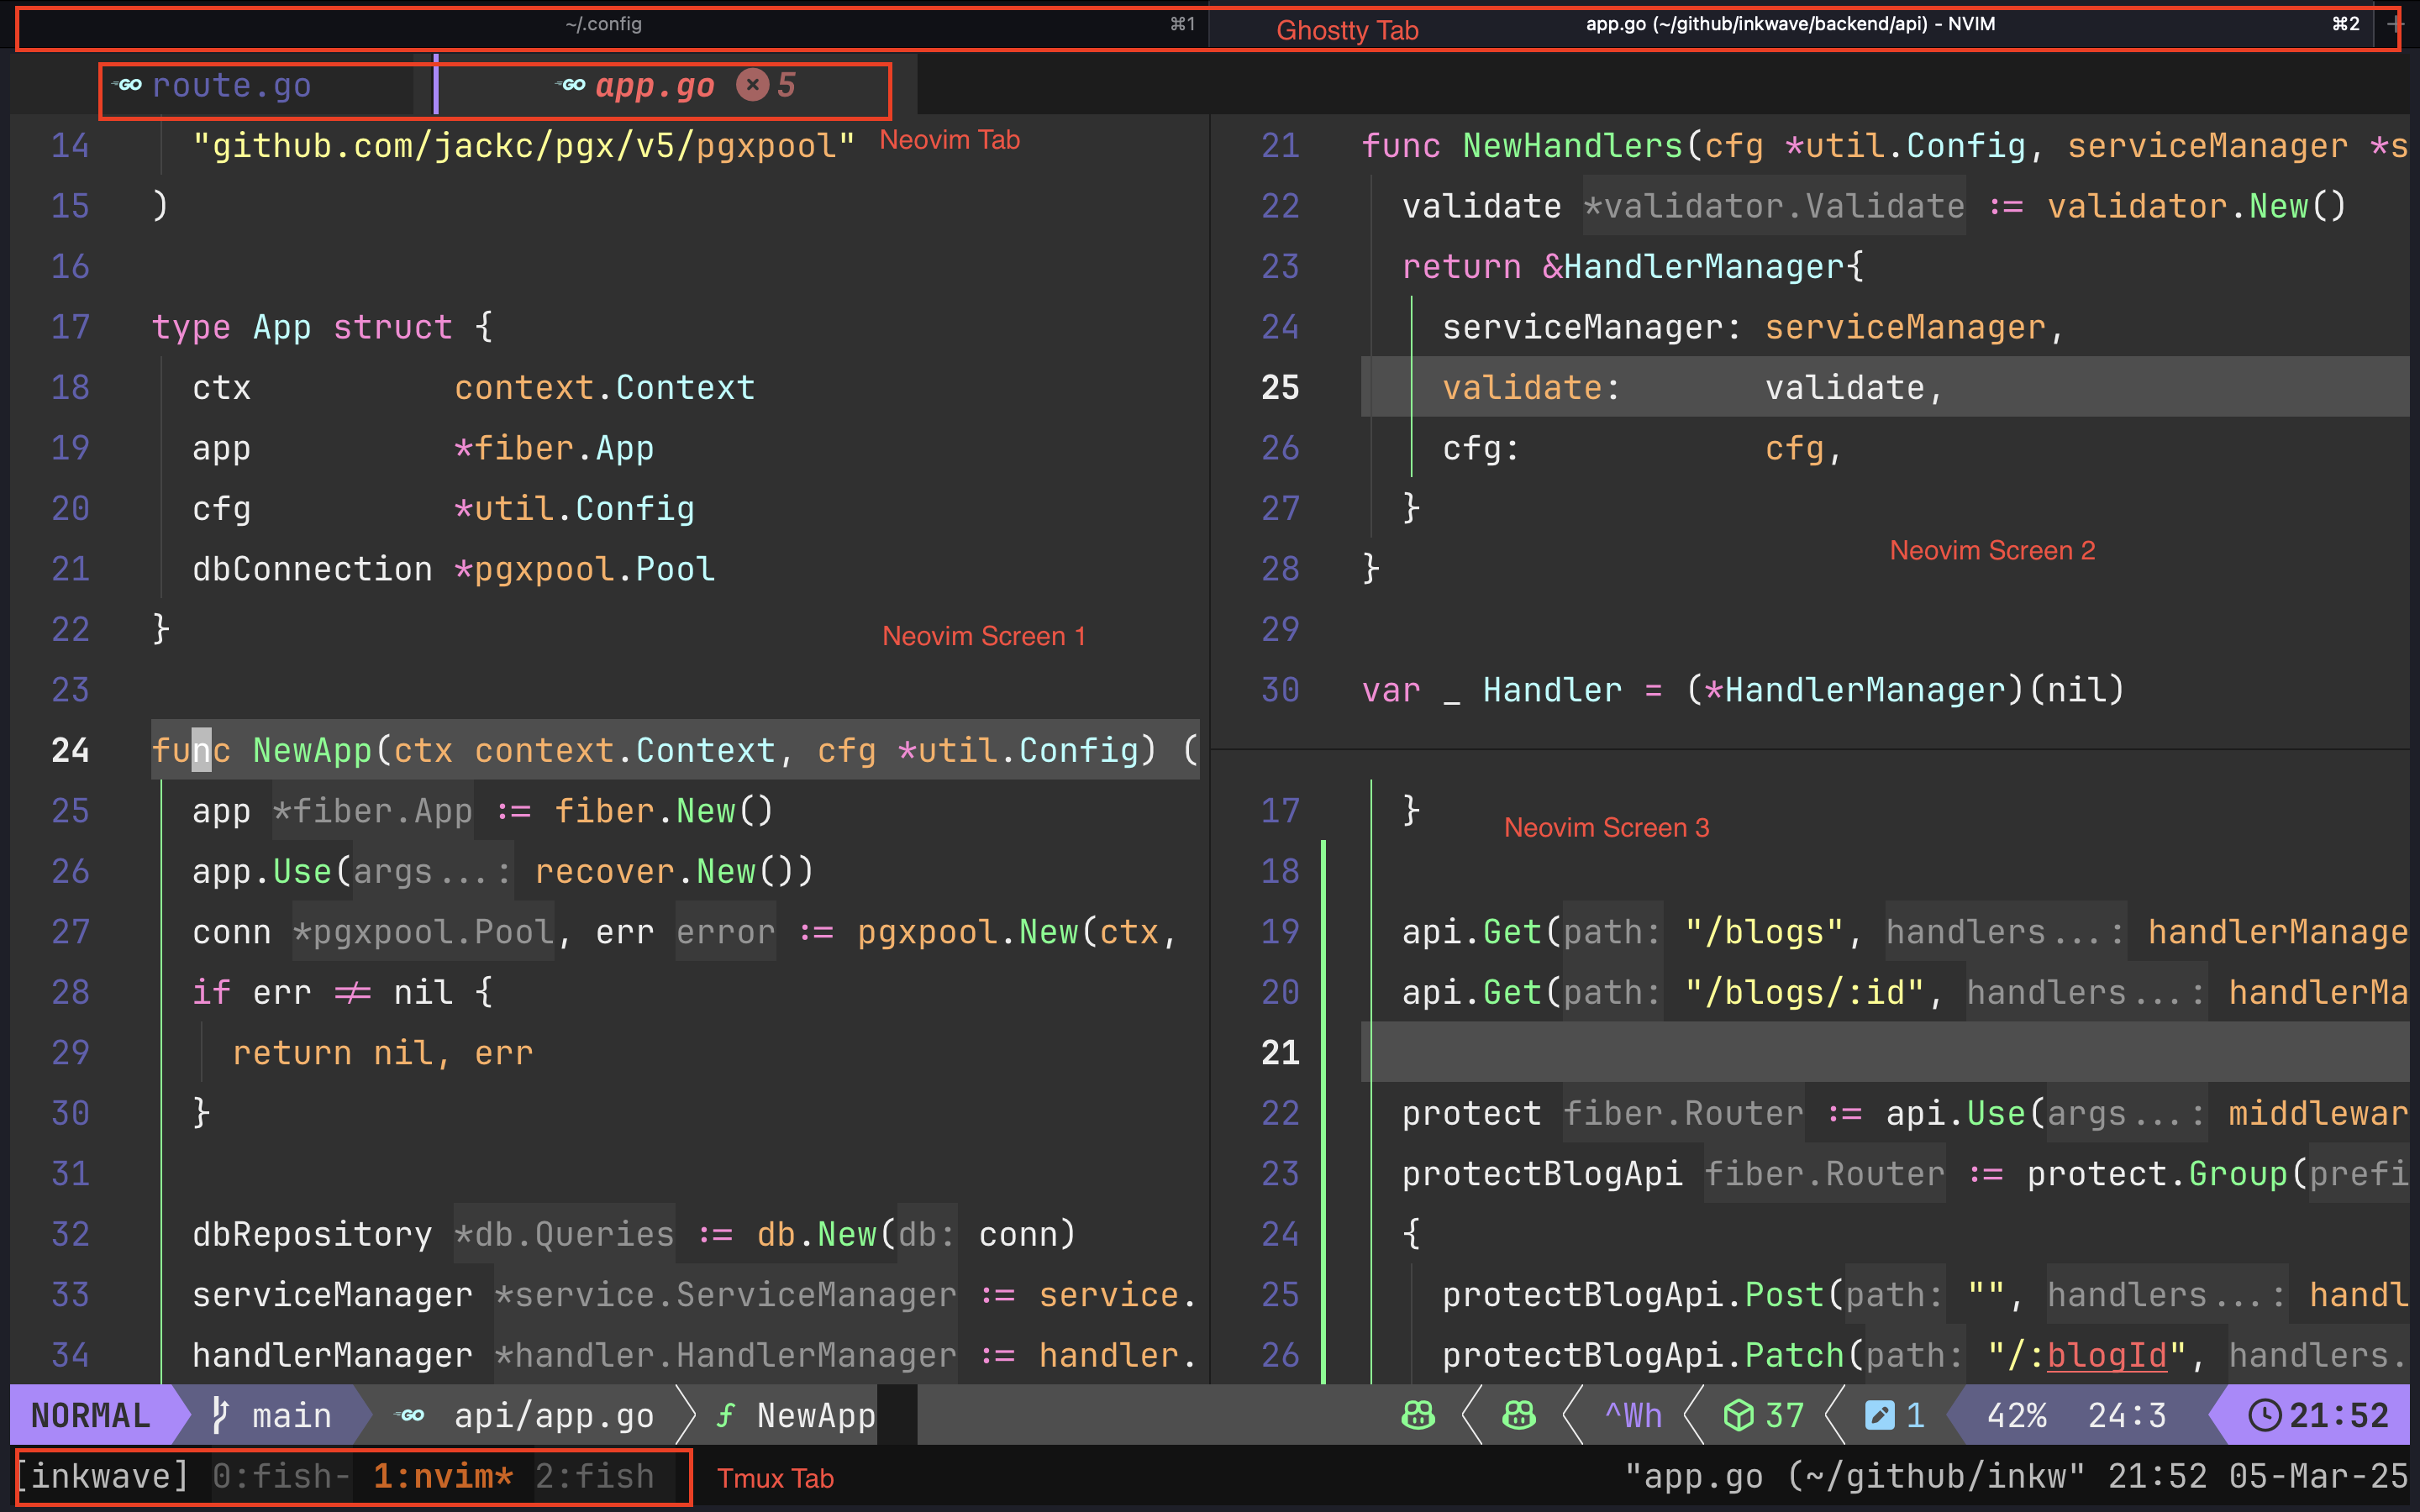
我使用 neovim 得理由是我可以跟我的 tmux 等其他 terminal 工具整合, 例如可以在用 Ghostty 開多個 Tab, 每一個 Tab 可以開一個 tmux, 每一個 tmux 可以開一個 neovim, 這樣就可以在一個 terminal 裡面做到很多事情, 並且也可以使用 tmux 的 pane 來做到分割視窗, 這樣就可以在一個 terminal 裡面做到很多事情
附上我的 vim config
感覺工具慢慢都變成 rust 或 zig 寫的…